mardi 16 avril 2013

Chocolate Nutella Cookies


From the Brownie Box, this is a delicious recipe with Nutella. The dough is fairly simple but shaping the cookies takes a little bit of time. These little cookies are worth it though, the outside is crunchy while the inside is more fudgy and the heart is pure Nutella.

Ingredients:
1/2 cup (110g) butter
1+1/2 cups (350g) packed light brown sugar
1/2 cup (55g) cocoa powder, sifted
2 large eggs
1/4 tsp salt
1/2 tsp baking soda
2 cups (260g) all-purpose flour, sifted
1/2 cup Nutella (more or less)

Directions:
1. Line a baking sheet with parchment paper.
2. Melt the butter in a saucepan then take off the heat (you could microwave the butter instead).
3. Stir in the brown sugar, cocoa powder, eggs and salt until well combined.
4. Add the baking soda and flour and stir until just combined.
5. Refrigerate the dough for 30 minutes at least (it becomes easier to work with)
6. Preheat your oven to 180 degrees C (350 F)
7. Roll 1 teaspoon of dough into a ball, use your finger make an indentation in the center.
8. Fill the indentation with Nutella (approx. 1/2 tsp), top with a flattened teaspoon of dough, and pinch the edges.
9. Bake for 10 minutes. (Do not over-bake, the cookies will firm up as they cool). Let cool for 2 minutes on baking sheets before transferring to a wire rack.

Slime recipe

The recipe for this is from Our Best Bites and worked great. I found the Borax (20 Mule Team Borax) in the cleaning products section of our local grocery store. Judging by Benjamin's face, this was a very cool project!
Homemade Slime

1 teaspoon borax powder
1 1/2 C water, divided
4 oz (1/2 C)  Elmer’s glue, clear or white (we used white)
food coloring


Add borax powder to 1 cup of water and stir to dissolve.  Set aside.  Pour glue into a medium mixing bowl and add 1/2 C water. Add a few drops of food coloring until desired color is reached and then stir to mix glue solution until smooth.  Pour the borax mixture into the glue mixture and watch the solids start to form.  Stir for a few moments and then use your hands to gather the mass.  The mixture will be very soft and wet.  Keep kneading until it firms up and feels dry.  Discard excess liquid in bowl. The more you knead and play with the slime the firmer it will become.  Store in a ziplock bag or air tight container and the slime will keep indefinitely.

En francais:

Aux Etats-Unis, la poudre Borax est utilisee comme agent blanchissant pour la lessive

1 cuillere a cafe de poudre Borax (sodium borate, sodium tetraborate, ou disodium tetraborate)
250 ml + 120 ml eau
120 ml de colle liquide blanche (la marque Elmer est la plus courante aux US)
colorant alimentaire

Melangez 250 ml d'eau avec la cuillere a cafe de Borax. Reservez.
Versez la colle dans un saladier et ajoutez 120 ml d'eau. Melangez.
Ajoutez quelques gouttes de colorant alimentaire. Melangez.
Ajoutez le melange Borax+Eau et melangez.
Vous allez voir apparaitre une masse solide. Melangez pendant quelques secondes puis allez y avec les mains.
La masse sera d'abord tres molle est mouillee.
Continuez a malaxer jusqu'a ce que le melange s'affermisse et s'asseche.
Retirez l'exces de liquide.
Plus vous jouez avec le melange, plus il s'affermie.
Gardez dans un sac ziplock ou un container plastique.       


Dr Seuss Oobleck?


So this is one of the messiest projects we did so far but it was a lot of fun and is really very simple. Just try to do this outside so you won't have to worry about the "stuff" getting all over the house! Both Benjamin and I had a lot of fun playing with it.

This idea is from Skip to my Lou and it was definitely worth it!

Mix 2 cups of cornstarch and 1 cup water in a bowl. If you want to color it, add a few drops of food coloring to the water before adding to the cornstarch. It takes some effort to mix the water and cornstarch. Try it out (hit it with your fist and pour it off a spoon to see if it works) before you give into the urge to add more water to make it easier to mix. The more you play with, the drier it gets but you just need to add water to it.

This thing is really neat, if you squeeze it, it becomes solid but as you let go, it turns back liquid. You can drop it to make stalagtites, cover your hand for a "melting hand" effect and many other ideas.
Benjamin also spent a lot of time "drawing" with it on our concrete driveway and made some cool abstract designs with it that were all cleaned up by the next rain.

WARNING: I tried to keep it for later in a plastic container but I think it fermented and a week later when I opened it again, it was smelling terrible and I had to open the windows and get rid of it.

En Francais pour ma maman:

Melanger 500 ml d'amidon de mais (je pense que c'est l'equivlent de la Maizena) avec 250 ml d'eau dans un saladier. On peut ajouter quelques gouttes de colorant alimentaire a l'eau avant de melanger avec l'amidon de mais. Au debut, il est difficile de melanger l'eau et l'amidon mais en y mettant les mains, cela finit par se melanger. Voila, c'est pret!
Il ne reste plus qu'a le faire degouliner, s'en enrober les mains.... Plus on joue avec et plus le melange s'asseche. Mais un peu d'eau et c'est reparti.

Attention: J'ai essaye de garder le melange pour plus tard dans un container en plastique mais apres une semaine, le melange a fermente et l'odeur etait pestilentielle.


samedi 13 avril 2013

Chocolate Birthday Cake


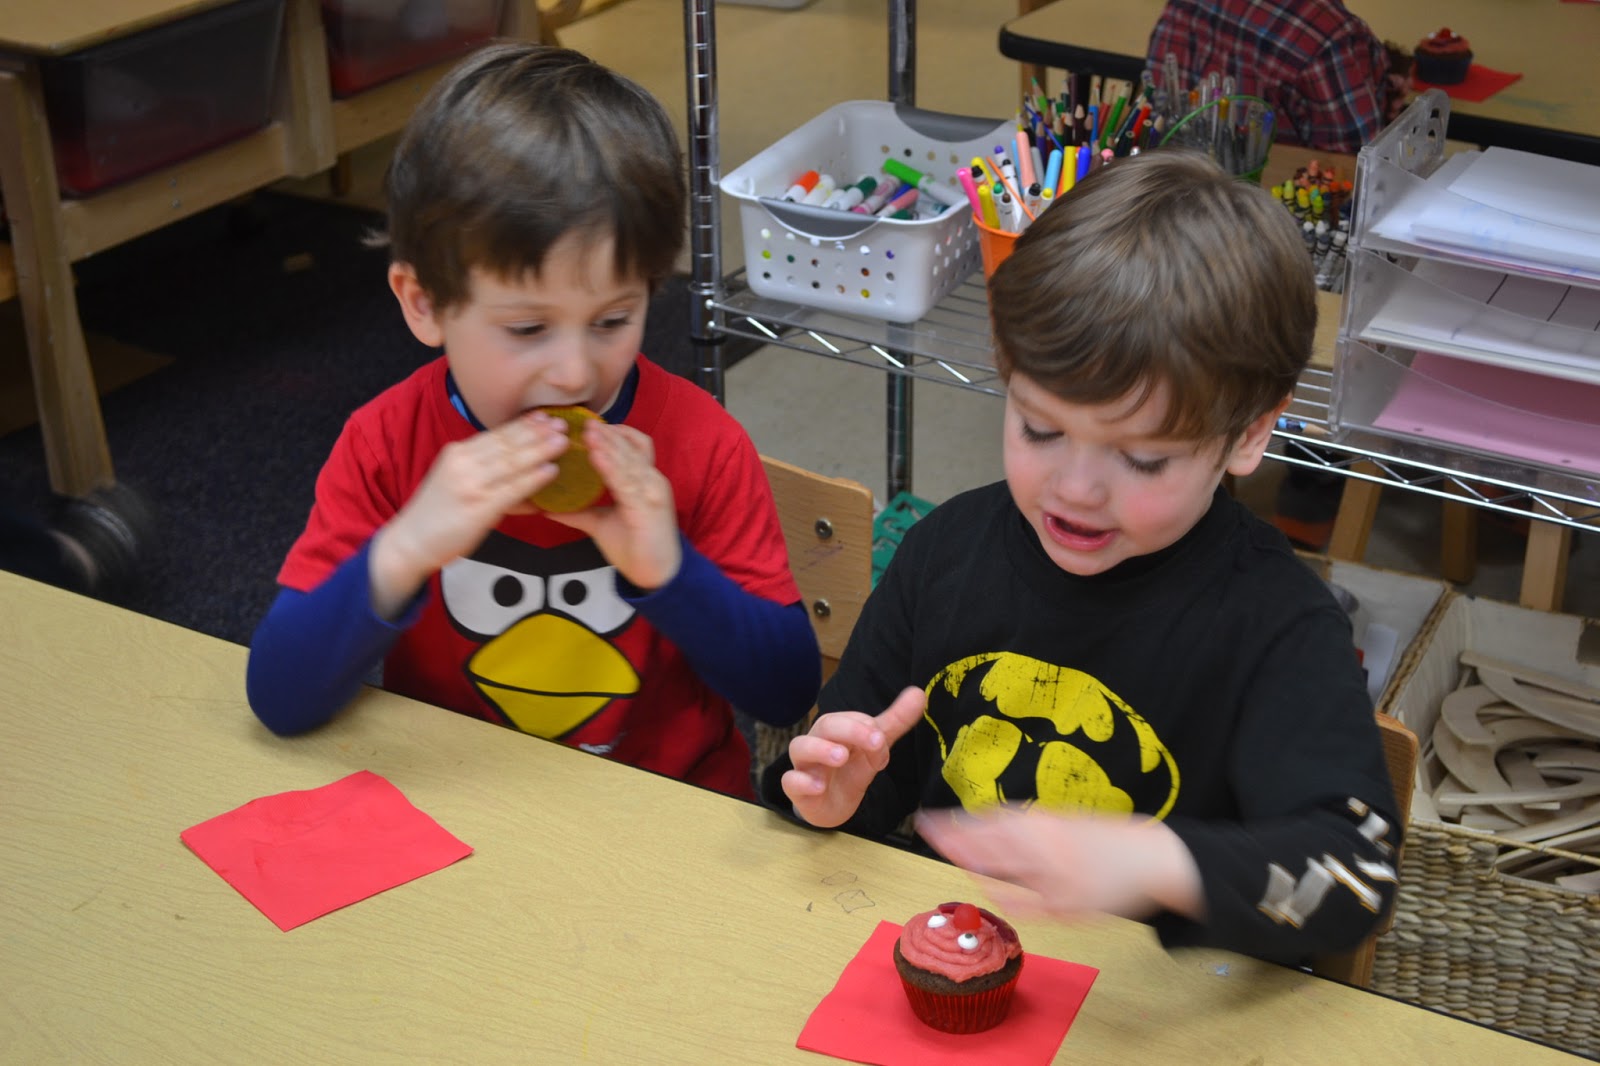
For Benjamin's 5th birthday, I baked a chocolate cake from the book Southern Cakes, adapted from a rond three layers cake to a rectangular two layers cake. The filling is cream based and I made a confectioner's sugar frosting to cover the cake before putting the fondant on.

This book was a present from my friends Sylvain and Emmanuelle and although they are not your usual kind of cakes, I have been trying a few of them and they are pretty good. That chocolate cake is really a keeper. Not too sweet (I reduced the amount of sugar), just moist enough, not too heavy, it was a pretty good cake.

Helen Hudson Whiting's Celestial Chocolate Cake
From the Southern Cakes

For the Cake:
2 cups boiling water
1 cup cocoa
2 3/4 cups all-purpose flour
2 tsp baking soda
1/2 tsp baking powder
1/2 tsp salt
1 cup (2 sticks) butter
2 cups sugar
1/2 tsp vanilla extrat
4 eggs

Cream Filling
1 cup very cold heavy cream or whipping cream
1/4 cup confectioners' sugar
1 tsp vanilla extract

Confectioners' sugar frosting
1/2 cup (1 stick) butter, softened
3 cups confectioners' sugar
1 tsp vanilla extract
1/4 tsp salt
2 tbsp milk

TO MAKE THE CAKE, heat the oven to 350F and grease and flour a big rectangle pan.

POUR THE BOILING WATER over the cocoa. Sir well with a fork until smooth, and set aside to cool. Combine the flour, baking soda, baking powder and salt in a medium bowl, and stir with a fork to mix well.

COMBINE the butter and sugar in alarge bowl, and beat with a mixer at high speed until well combined. Add the vanilla and then the eggs, one at a time, beating well after each one until the mixture is smooth and light. Add the flour mixture in 4 batches, beating after each addition only until the flour disappears.Add the cocoa mixture in 3 batches, beating just enough after each addition to combine everything into a smooth, luscious batter, stopping once or twice to scrape down the sides of the bowl.

TRANSFER the batter in the pan. Bake at 350F for 25 to 30 minutes, until the cake springs back when touched lightly in the center and are beginning to pull away from the sides of the pan.

COOL THE CAKE for 10 minutes in the pan the gently turn them out onto wire racks or plates to cool completely , top side up.

TO MAKE THE FILLING, in a medium bowl, combine the whipping cream, confectioners' cream, and vanilla, and beat until thick and luscious. Cover and refrigerate until you are ready to complete the cake.

TO MAKE THE FROSTING, in a medium bowl,  beat the butter with a mixer at medium speed until creamy and smooth. Add the confectioners' sugar, vanilla and salt, and beat for 1 minute. Add the milk and beat well at high speed, stopping often to scrap down the bowl, until the frosting is smooth and creamy and a nice texture for spreading on your cake

TO COMPLETE THE CAKE, cake the cake in two layers of equal width, place the first layer top side down, on a cake or serving plate, and spread the whipped cream filling almost to the edge. Cover with the second half, top side down.

SPREAD the confectioners' sugar frosting in a thin layer on top and around the cake and apply the rolled out fondant.

mercredi 3 avril 2013

Chocolate Cupcake with Strawberry Frosting

Pour son anniversaire a l'ecole, Benjamin a demande des cupcakes au chocolat avec glacage a la fraise et smiley faces. Donc je pars a la recherche de recettes et fini par choisir les cupcakes au chocolat de "Lady Behind the Curtain" et le glacage a la fraise de "Cooking Classy". Pour les smiley faces, des bonbons devraient faire l'affaire. Et voila le resultat final.

To celebrate his birthday at school, Benjamin asked for some chocolate cupcakes with Strawberry frosting and smiley faces. After looking around, I picked the chocolate cupcake recipe from "Lady Behind the Curtain" and the strawberry frosting from "Cooking Classy". For the smiley faces, some candy eyes and candies will do the trick.

Chocolate Cupcake with Strawberry Frosting


Chocolate Cupcake Recipe (makes 36)

Ingredients

3/4 cup unsweetened Dutch-process cocoa powder
3/4 cup hot water
3 cups all-purpose flour
1 teaspoon baking soda
1 teaspoon baking powder
1-1/4 teaspoons salt
1-1/2 cups unsalted butter
2 cups sugar
4 eggs
1 tablespoon vanilla extract
1 cup sour cream

Directions

Preheat oven to 350 degrees. Line muffin tins with 36 cupcake liners.
Whisk together cocoa and hot water until smooth. In another bowl, whisk together flour, baking soda, baking powder, and salt.
Melt butter with sugar in the microwave until the butter is mostly melted. With an electric mixer on medium-low speed, beat until mixture is cooled, 4 to 5 minutes. Add eggs, one at a time, beating until each is incorporated, scraping down sides of bowl as needed. Add vanilla, then cocoa mixture, and beat until combined. Reduce speed to low. Add flour mixture in two batches, alternating with the sour cream, and beating until just combined after each.  Fill cupcake liners 2/3 full.  Bake 20 to 25 minutes or until a toothpick inserted into the middle comes out clean.  Cool completely before frosting.

Strawberry Buttercream Frosting

Yield: enough for 1 dozen cupcakes (I doubled the recipe and had enough for about 30 cupcakes)

Ingredients 

3/4 cup unsalted butter, at room temperature*
1 cup (15g) freeze dried strawberries
2 1/2 Tbsp heavy cream
1-1/2 cup powdered sugar

Directions 

In the bowl of an electric stand mixer, fitted with paddle attachment, whip butter on medium-high speed until very pale and fluffy 6 - 8 minutes, frequently scraping down sides and bottom of bowl. Meanwhile, pulverize freeze dried strawberries in a food processor** until finely ground (wait about 10 second before opening food processor allowing the powder in the air to settle a bit. There should have 3 1/2 Tbsp of the strawberry powder). Transfer strawberry powder to whipped butter and blend mixture until combine. Stir in heavy cream followed by powdered sugar and whip mixture 4 - 5 minute longer on medium-high speed, until very pale and fluffy, frequently scraping down sides and bottom of bowl. Pipe on the cupcakes.

*or softened in microwave on HIGH power in 4 - 5 second intervals, rotating butter to next side between intervals until lightly softened.
**if you don't own a food processor, you can place the strawberries in a resealable bag, seal bag and crush to fine powder with a rolling pin. Make sure all the strawberries are crushed to a fine powder otherwise the piping of the frosting will be very difficult.

 Chocolate Cupcakes...

 ...with strawberry frosting...

 ...and smiley faces!

Celebrating at school!


Paques

Le lendemain apres avoir celebre Passover, nous partons a la chasse aux oeufs de Paques. Avec notre tout nouveau jardin, Benjamin s'en donne a coeur joie (le jour ou il faudra lui expliquer les differentes celebrations de notre famille, cela va etre interessant).

The day after celebrating Passover, we are going for Easter hunt. With our brand new garden, Benjamin can have a lot of fun (the day we will have to explain to him the different holidays in our family, this is going to be interesting).


Sweet Potato Gnocchi for Passover

Cette annee pour Passover nous sommes invites chez Maris, la maman de Dan. Nous devons apporter un accompagnement au plat principal. Pour respecter Passover, les choix sont plutot limites et je decide de tenter des gnocchis de patate douce avec sauce a la sauge. Le resultat n'est pas mauvais etant donne que la farine est interdite mais je pense re-essayer un jour avec une recette plus standard.

This year for Passover we are invited for diner at Maris' house. We are supposed to bring a side dish and I decide to try some Sweet Potato Gnocchi with sage. The result is not too bad knowing that I could not use flour but I think I will at some point try again with a more standard recipe.


The recipe was taken from the blog "Cooking with Amy"

Passover Sweet Potato Gnocchi
makes about 3-4 servings

Ingredients

1 cup mashed sweet potato (hot or cold)
1/4 cup ricotta
1/2 cup matzoh meal
1/4 cup potato starch
1 scant teaspoon kosher salt

1/4 cup unsalted butter
10 fresh sage leaves

Instructions

Mash together the sweet potato, ricotta, matzoh meal, potato starch and salt. When the dough is well mixed, break it into four even pieces. Roll each and cut about a 10 inch roll and cut into small pieces, about 15 per piece of dough (you may need some potato starch to help you roll that dough since it can be pretty sticky). Using a fork, roll the bits of dough to flatten them slightly and make indentations. Boil in salted water just until they rise to the surface.

In a large saucepan, preferably non-stick, melt the butter and add the sage leaves, after a few minutes add the gnocchi and cook until the sage leaves are crisp and the gnocchi is slightly crisp on the outside. 


Mamy à Boston

Samuel Adams in front of Faneuil Hall Tapestry in the hotel One of the many cemeteries. Monu...